How to Tamp Espresso: Pressure, Level, and the Mistakes Beginners Make
Tamping has a mythology problem. Forums will tell you it takes 30 pounds of calibrated force, a special wrist angle, and years of practice. The truth is simpler: tamping matters less than you think, but levelness matters more than you think. Get the puck flat and even, and you’re 95% of the way there.
What tamping actually does
Tamping compresses loose grounds into a dense, uniform puck so pressurized water flows through evenly instead of finding weak spots. That’s it. It doesn’t “extract more flavor” and it doesn’t fix a bad grind — it just gives water a level playing field. This is why pressure is overrated: once the grounds are fully compressed, pressing harder changes almost nothing. Studies (and every experienced barista) agree — the difference between 15 lbs and 30 lbs of force is negligible in the cup. But a tamp that’s tilted by even a degree or two compresses one side more than the other, and that uneven density causes channeling every time. The rule: level > pressure. Always.
The technique, step by step
- Dose and distribute first. Tamp is the last step of puck prep, not the first. Dose your coffee (18g for a standard double), break up clumps with a WDT tool, and settle the bed level.
- Set the portafilter on something flat. Tamp on a level surface — a tamping mat on your counter, not held in your hand over the drip tray. A wobbling portafilter is how tilted tamps happen.
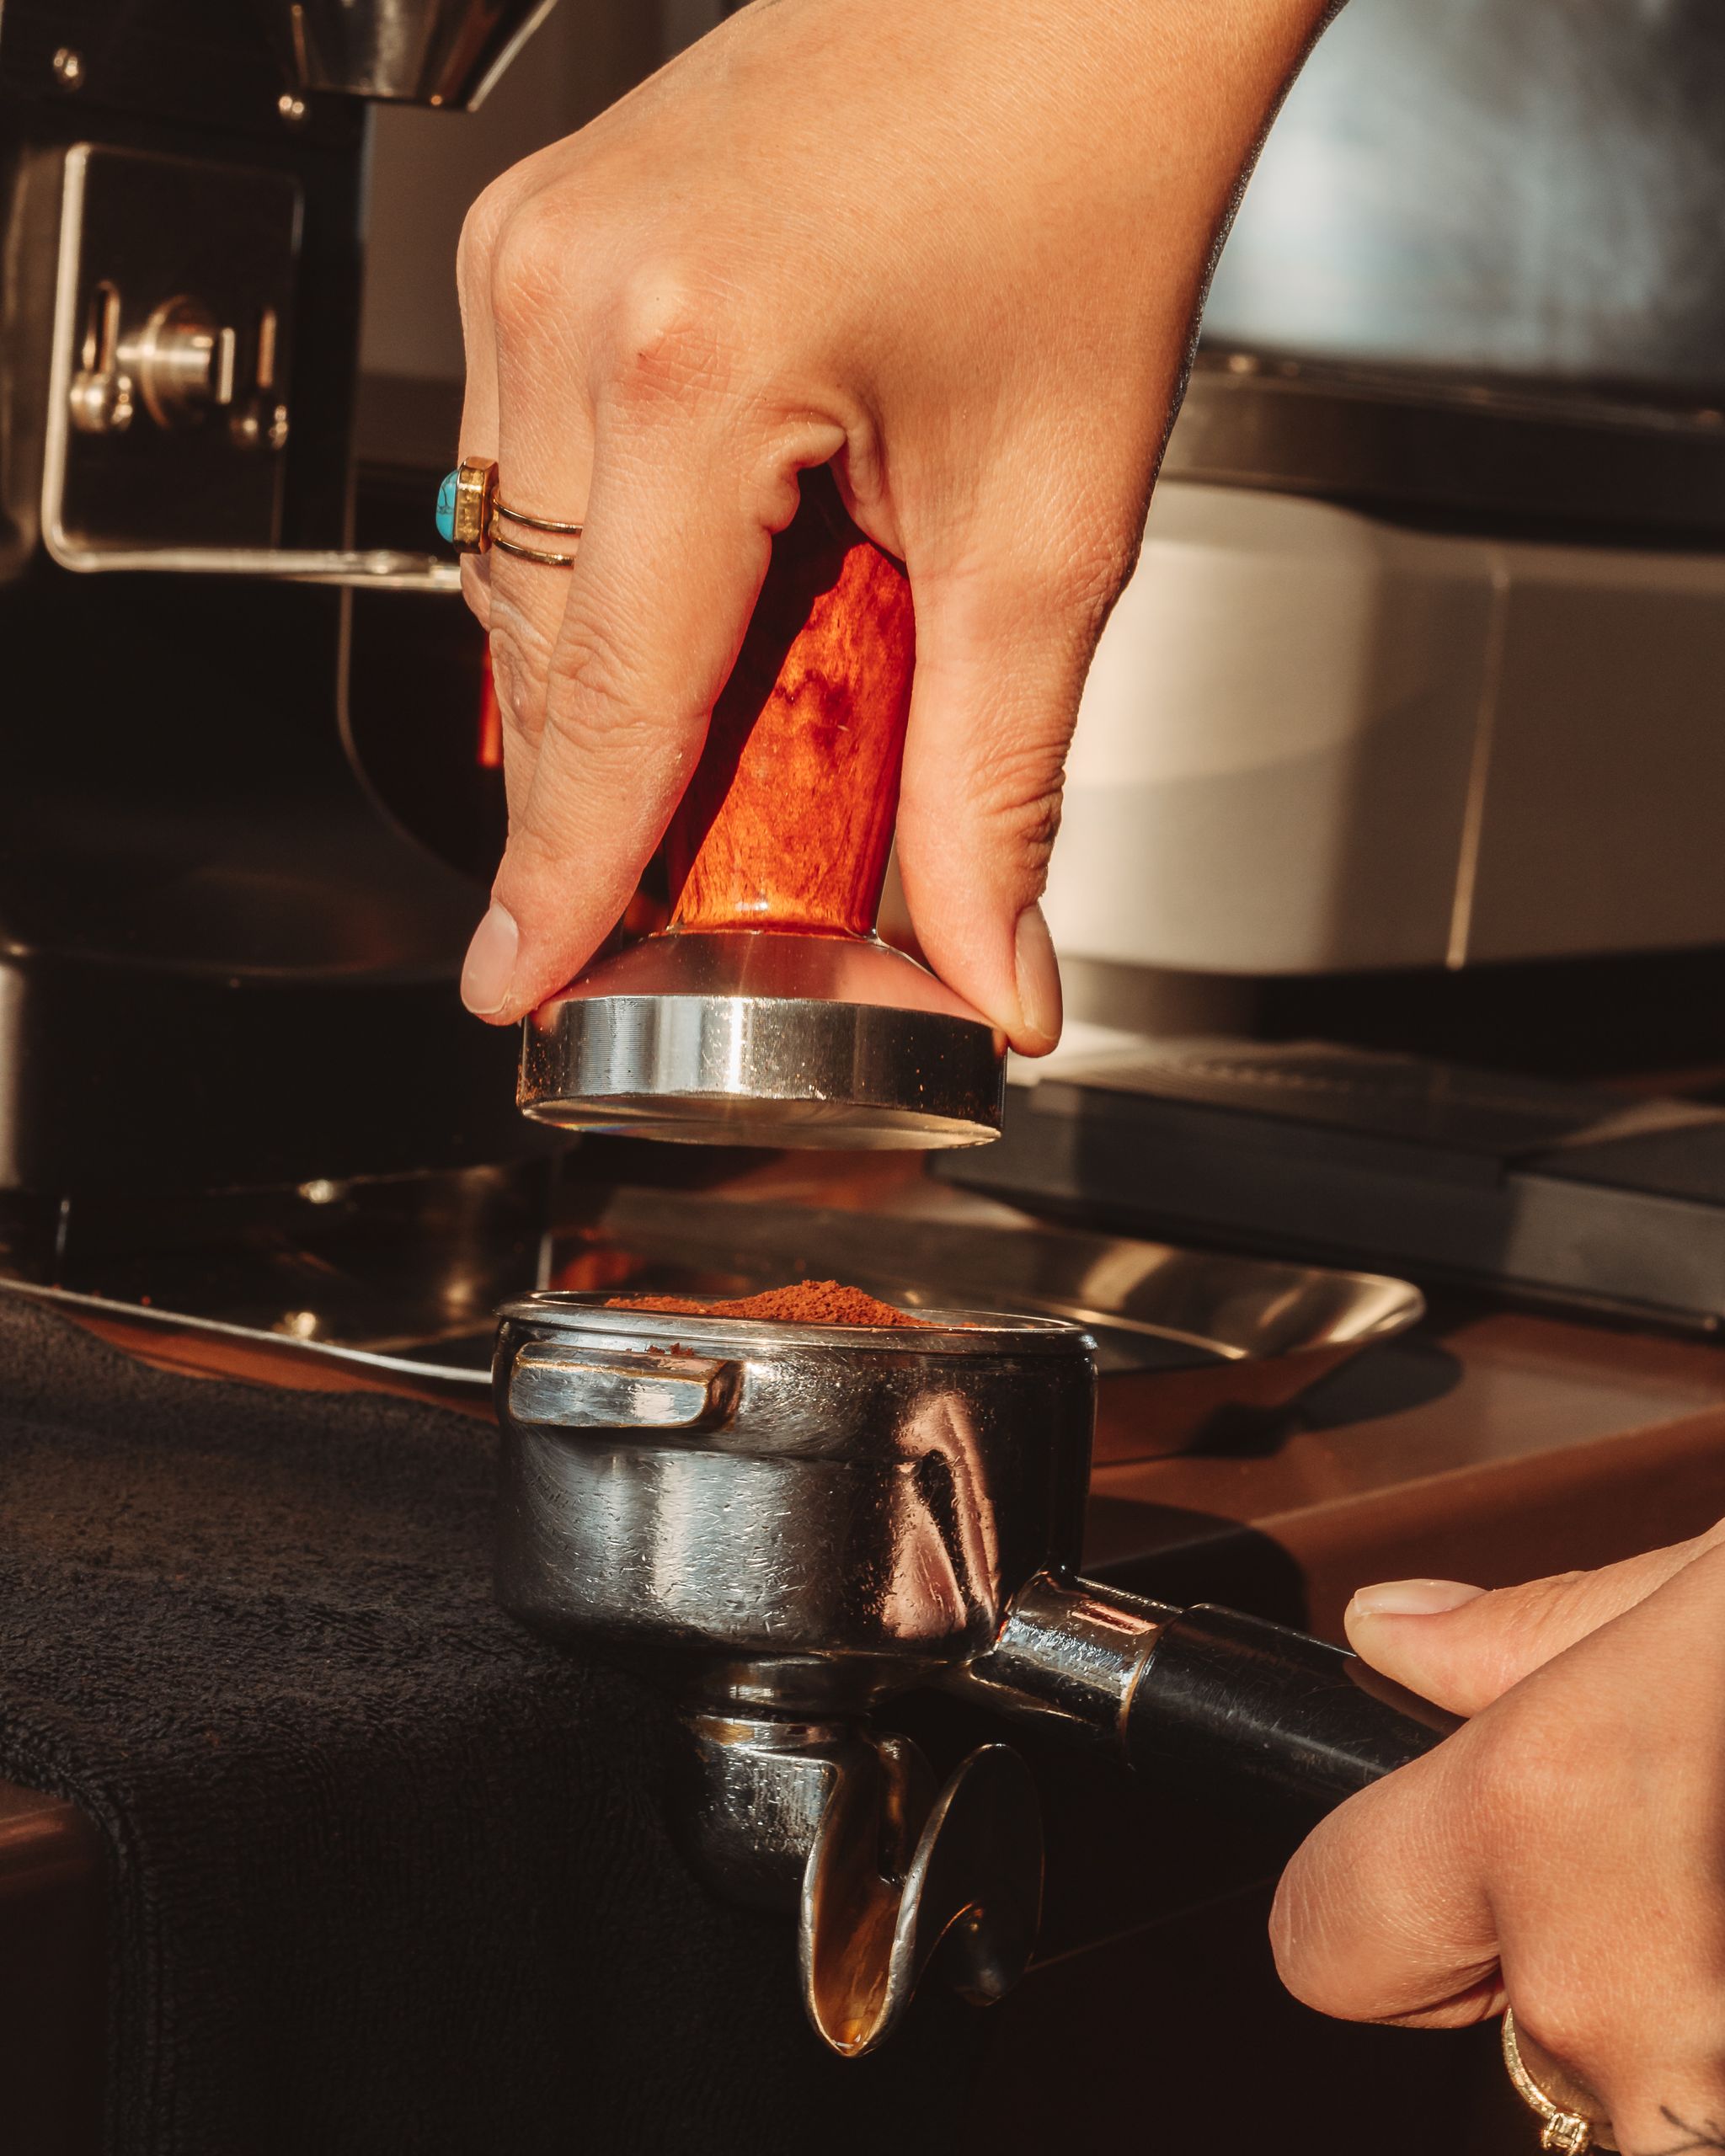
- Hold the tamper like a doorknob. Fingers and thumb around the handle, wrist straight. Your forearm should be roughly vertical over the basket.
- Press straight down until the coffee stops compressing. You’ll feel it “bottom out” — the grounds can’t compress further. That’s your pressure. For most people this lands around 15–25 lbs without thinking about it.
- Check it’s level. Look at the tamper base against the basket rim — it should sit flat, no visible tilt. Some baristas give a gentle polish spin (no pressure) to smooth the surface; optional, harmless.
- Lock in and pull immediately. A tamped puck left sitting dries and settles unevenly. Total time: about 5 seconds once it’s habit.
How hard should you press, really?
Forget the bathroom scale ritual. Press firmly until the bed stops giving — that’s it. If you’re pressing so hard your arm shakes, you’re overdoing it. If you’re barely kissing the surface, press a bit more. The window between “enough” and “too much” is enormous; the window for “level vs tilted” is tiny. Spend your attention there.
Should you buy a calibrated tamper? Calibrated (spring-loaded) tampers click at a set pressure — nice consistency, ~$40–60. Self-leveling tampers (with a lip that sits on the basket rim) guarantee a flat tamp — genuinely useful for beginners, ~$30–50. If your tamps keep coming out tilted, a self-leveling tamper is money well spent. If your tamps are already level, neither will change your coffee.
The 5 mistakes beginners make
1. The tilted tamp
The #1 tamping mistake, by far. Elbow out to the side, wrist bent, pressing at an angle — one side of the puck gets crushed while the other stays loose. Water floods the loose side. If your shots are inconsistent and you’ve ruled out grind, film yourself tamping from the side. You’ll probably see the tilt.
2. Tapping the portafilter after tamping
That little knock on the side to “settle” the grounds? It cracks the puck’s edge, creating a perfect channel down the side of the basket. Never tap a tamped puck. If grounds are stuck to the basket rim, brush them off before tamping, not after.
3. Tamping on an uneven surface
Tamping with the portafilter balanced on the machine’s fork or held in your hand guarantees inconsistency. Use a flat mat on a flat counter. Boring, effective.
4. The double tamp (tamp, lift, tamp again)
Lifting and re-tamping fractures the compressed bed. Tamp once, confidently. If you think you messed it up, it’s better to dump the grounds and re-dose than to re-tamp a broken puck.
5. Obsessing over pressure instead of distribution
Beginners will buy a $150 calibrated tamper while skipping the $15 WDT tool. Backwards. Unevenly distributed grounds can’t be fixed by tamping — the tamper just compresses the clumps in place. Distribution first (WDT), tamp second. Always.
Tamping checklist
- Dose weighed, clumps broken up (WDT)
- Portafilter on flat mat, counter level
- Tamper gripped straight, forearm vertical
- One firm press until compression stops
- Visually level — no tilt
- No tapping, no re-tamping
- Pull the shot immediately
Frequently asked questions
Do I need to tamp with 30 lbs of pressure?
No. That number comes from old Italian tradition, not science. Any firm, full compression works — what matters is that the tamp is level and the grounds were distributed evenly first.
Should I twist or “polish” after tamping?
A light polish spin (no downward pressure) smooths the puck surface and does no harm. A heavy twist while pressing can disturb the bed. Light spin fine, grinding twist bad.
Can I tamp too hard?
Effectively no — once the puck is fully compressed, extra force does nothing. The real risk of pressing very hard is wrist strain and tilting from the effort, not over-compression.
Does tamp pressure affect shot time?
Barely. Grind size controls flow rate; tamp pressure is a distant second. If your shot runs fast, grind finer — don’t tamp harder.